Change DHCP to Static IP – Toolkit
GRIDlinks are shipped from the factory set for DHCP and should automatically run on any network provided there is a DHCP server. These are the final steps to change to Static IP.
DNS Considerations. When the GRIDlink is changed to a static IP, it will no longer obtain DNS server addresses from the Gateway and default to 8.8.8.8
Procedure
After following the Change to Static IP 113/135 Procedure in the right column and when the GRIDlink is accessible, take the following steps:
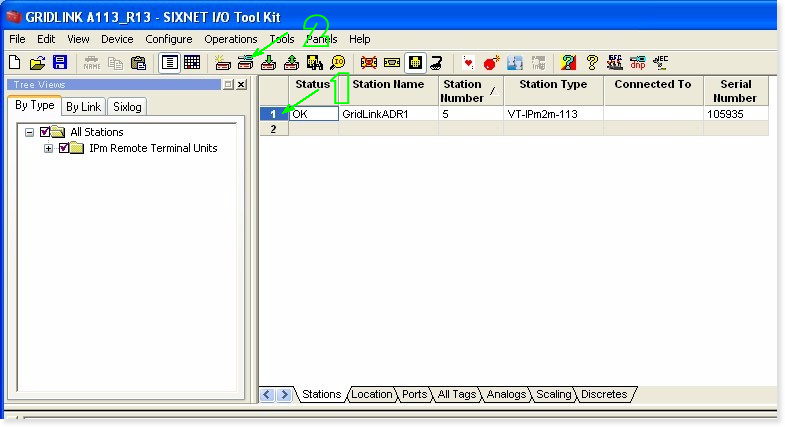
Open the Toolkit Project
Select GRIDlink VEN so it is highlighted in blue in the number column.
Select Configure > Configure Station Module > Ports (tab at top)
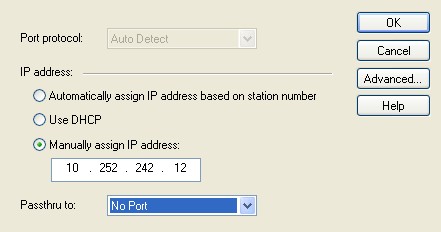
Select: Manually Assign IP address
Enter: New Static IP address
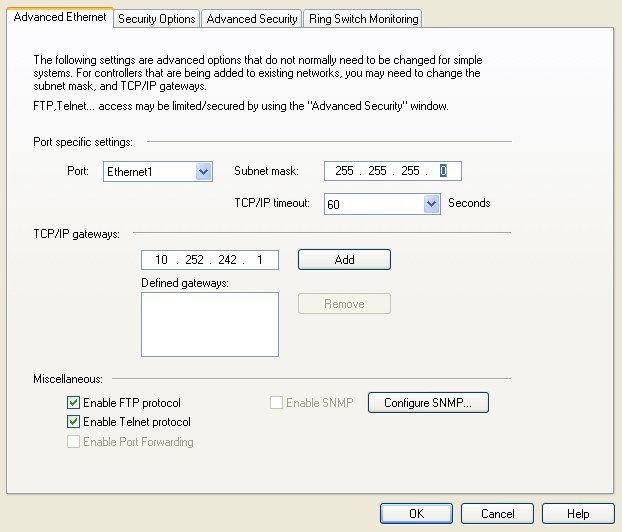
Select: Advanced button
Check with your IT Manager*
Subnet mask – 255.255.255.0 *
TCP/IP gateway(s): IP Address *
Click Add
Gateway IP address should appear in Defined gateways box.
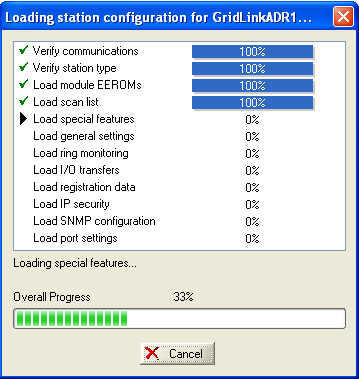
Click OK
Sixnet Toolkit
- Toolkit – Testing GRIDlink locally
- Toolkit – Installing Latest Version
- Show DHCP Status – Toolkit
- Set Ethernet Port to DHCP – Toolkit
- Serial Connection DB9 to RJ45
- Serial Connection – Toolkit
- Serial Cable Assembly for Sixnet IPm
- Serial Cable Assembly
- Finding MAC Address in Toolkit
- Ethernet Connection – Toolkit


