Send a Test Signal to GRIDlink through GRIDview
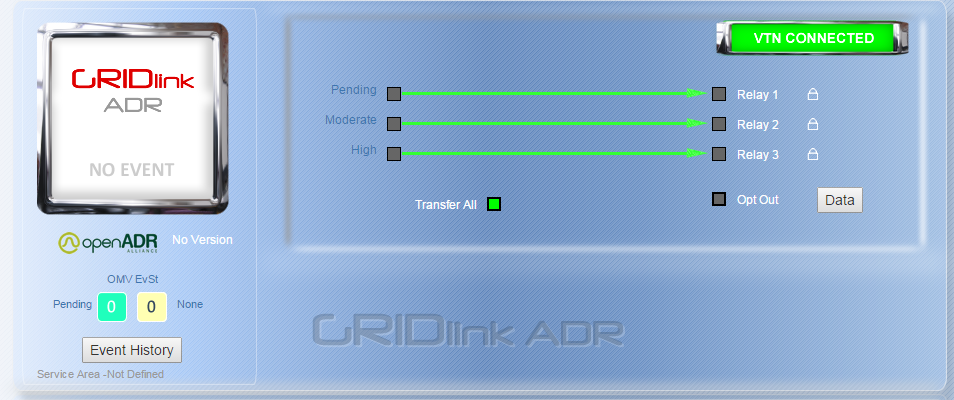
To send a test signal to the GRIDlink, you should first check to make sure that the “Transfer All” option is disabled. If the page looks like this, then “Transfer All” is enabled. When “Transfer All” is on the GRIDlink will participate in ADR events.
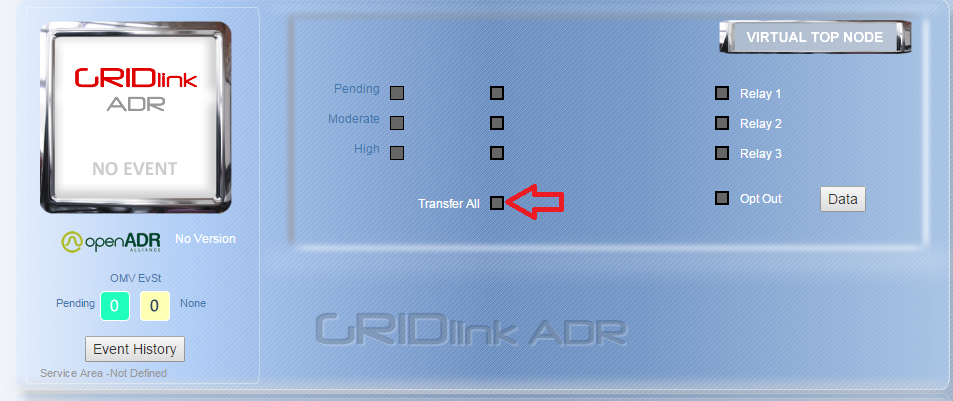
To disable it, click the green button next to the text “Transfer All”. A prompt will pop up asking you to verify that you want to turn “Transfer All” off. Press “Ok”. It should look like this.
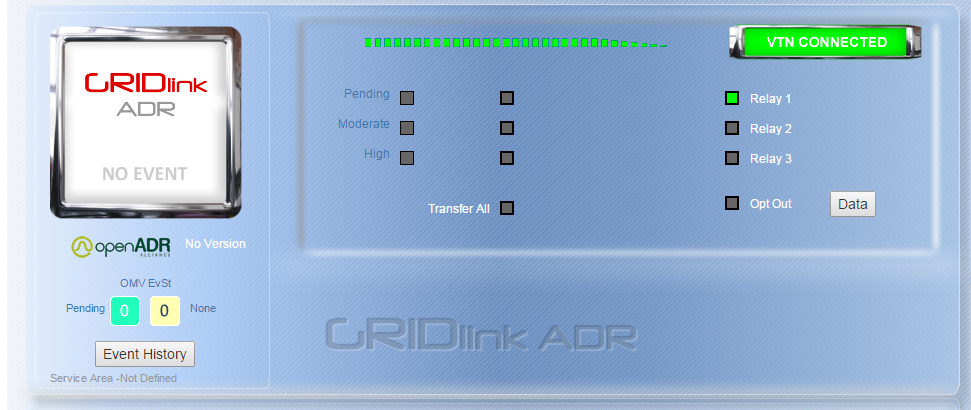
Now you can click whichever relay you would like to test (1, 2 or 3). For 113/213 GRIDlinks, all of these will be available and you should choose whichever you want to test. For GRIDlink CE hybrids, the single output on the unit corresponds to “Relay 3” on GRIDview. After clicking the relay and confirming the pop up prompt, GRIDview will send a signal to the GRIDlink to close the relay.
NOTE: This will cause the GRIDlink to close the attached relay, so anything you have connected to the relay will be activated.
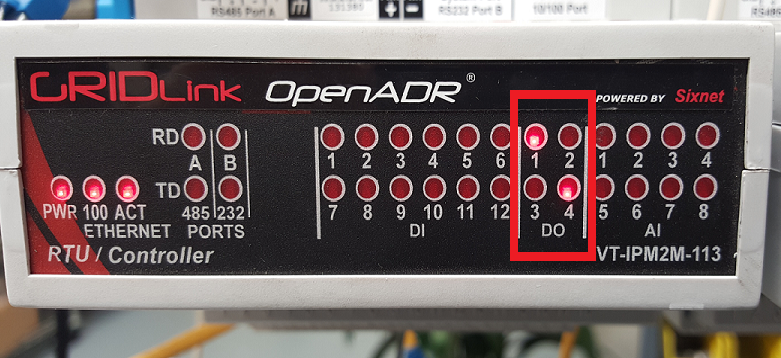
After a few moments the corresponding digital output should turn on on the unit, and then corresponding box will turn green in GRIDview.
NOTE: GRIDlink CE hybrids do not have a confirmation light on the unit. If a relay is not attached, a voltmeter should be used to verify there is a voltage output.
If a relay is attached to the DO being tested it should when the DO light comes on for the GRIDlink.
It is advised that once the test is completed that the digital output be turned off using GRIDview. This is done by clicking the green button again and pressing “Ok” on the pop up prompt.


