Replacing Module
Removal

Under specific circumstances and some warranty mitigations tech support may opt for this procedure.
STEPS
1. Turn Off power.
2. Grasp Master Module on the top and the bottom tabs marked “PRESS”
3. Squeeze tightly and pull the module out. It may be tight and take some effort.
4. If you returning for repair or reconfiguration and are using a Static IP address, please include the Static IP address, Subnet mask and Gateway IP on your MRA form.
1. Make sure the hinged plastic door covering the base behind the module has not fallen forward which would block the replacement module’s path.
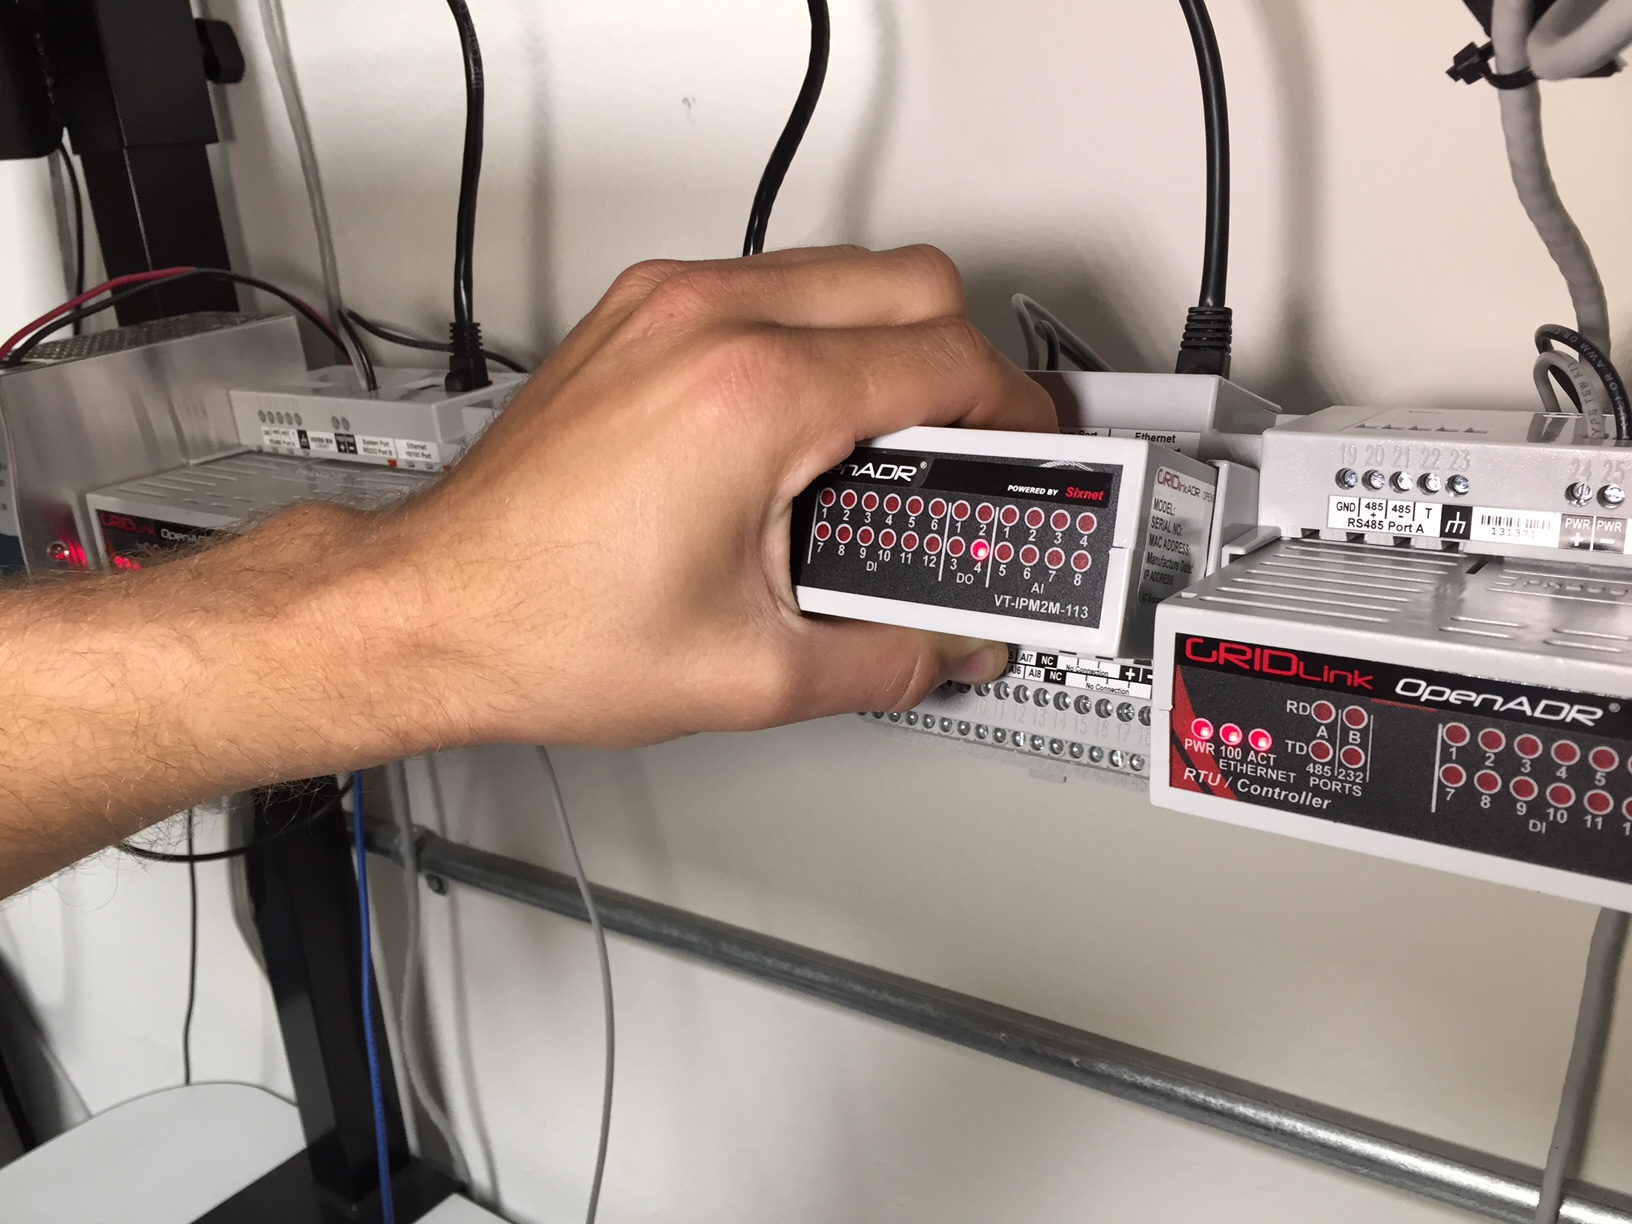
2. Take the new module and place it in the slot. Using both palms, press firmly and evenly against the front of the module as shown. It is important that the new module clicks into place and is seated properly. It is possible to improperly seat the module and have the LED lights be ON, so check carefully.
3. Restore Power and wait for the Power LED and network activity lights to go ON.
If your IPm is fitted with a Trip-Wire Cyber Security option, place the supplied Trip-Wire security port device in the left RJ45 port which is marked RS232 with the serial number facing to the rear. We suggest doing this after the Ethernet connection is confirmed so as not to accidentally place the Trip-Wire into the Ethernet port. Caution once the Trip Wire is installed, it cannot be removed without destroying it. The serial numbers are recorded and are paired to a specific GRIDlink for Cyber Security reasons.


